Private School Finances: Importing Gradelink Financial Data into QuickBooks
If you’re managing private school finances, you know the struggle: You’ve got all your financial data in Gradelink, but your accounting lives in QuickBooks. Manually transferring data between the two is time-consuming, error-prone, and frustrating. You risk missing payments, duplicating entries, or scrambling during audits.
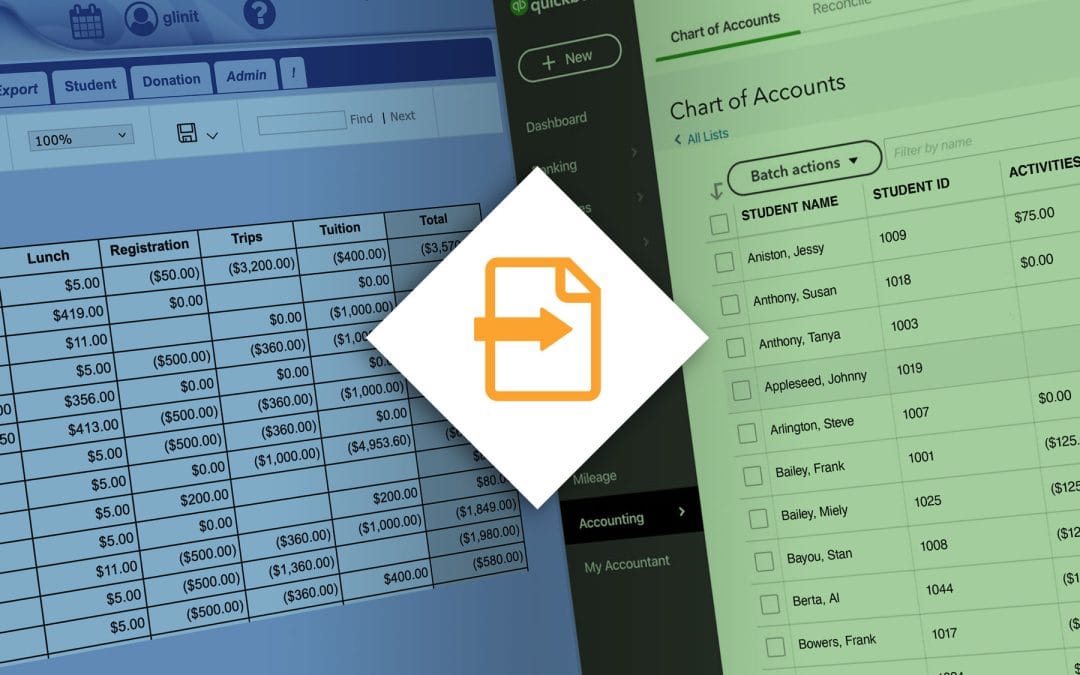
The good news: You can export your financial records from Gradelink and import them straight into QuickBooks. It’s fast, accurate, and doesn’t require any special software. There are two ways to do this, depending on how detailed you need the data to be. Read step-by-step instructions below or click here to watch the video.
Prerequisite Setup:
Assign QuickBooks Account Numbers in Gradelink
Before exporting anything, it’s important to enter your QuickBooks account numbers into Gradelink’s G/L Account Number field for each Fee Type.
Why This Matters
Each billing category — like preschool tuition or field trip fees — can be tied to a specific account in your QuickBooks Chart of Accounts. When these numbers are entered into Gradelink, they appear as a separate column in your export. This makes matching transactions in QuickBooks seamless and efficient.

What are QuickBooks Account Numbers?
In QuickBooks, each account (e.g., Tuition Income, Bank Fees, Supplies) can have an Account Number. These numbers help organize your Chart of Accounts and allow for clean mapping between systems.
To turn this on in QuickBooks Online:
Settings → Advanced → Chart of Accounts → Enable Account Numbers
How to Add G/L Account Numbers in Gradelink
- Go to Financial → Admin → Fees/Types
- Select a fee
- Enter the corresponding QuickBooks account number under G/L Account

Option 1:
Export All Transactions from Gradelink for QuickBooks
Use this method if you want full transaction-level detail for every student.
Steps:
- Go to the Financial tab → View/Export → Billing Transactions
- Select a school year (e.g., 2025-26 or 2026-27).

- Under DB/CR, select which transaction types you want to include.
- Charges
- Payments
- Credit Memos (used for scholarships or financial aid)

- Set your date range using the first column (e.g., “Last 7 Days” or custom)

- Click the hamburger icon in the upper right to choose which columns appear. Then you can filter any column by typing into the column heading. For example, you can type “Check” to filter the payment method by checks.

Popular columns include:
- Billing category
- General ledger account Total
- Amount received
- Student name
- Payment method
- Click Export visible data as csv to download a CSV file (your filters will be preserved).
- Import the CSV into QuickBooks using its transaction import tool.
Option 2:
Export Totals by General Ledger Category from Gradelink to Quickbooks
If you only want QuickBooks to reflect summary totals by billing category (e.g., tuition, registration fees), use one of the following reports. You’ll still keep student-level details in Gradelink.
View Total Amounts by Billing Category:
- Go to Financial → Reports → Reports to run: → Acct. Summary Totals
- Select a month or date range.
- Click Run/Refresh Report.
- Go to the last page to view the totals.

- The totals per billing category are shown at the bottom and can be added directly to QuickBooks.
View Charges and Payments by Billing Category
- Go to Financial → Reports → Acct. Detail Totals
- Select a month or date range.
- Click Run/Refresh Report.
- Go to the last page to view the totals.

View Totals by G/L Account Number (QuickBooks Mapping)
- Go Financial → Reports → G/L Account Totals
- Choose a date range.
- Click Run/Refresh Report.
- The report shows totals grouped by account (e.g., tuition, field trips, yearbooks).
- Export the report as Excel, Word, or PDF — whichever format works best for your upload or reference in QuickBooks.

What You Gain From a Simple Gradelink-to-QuickBooks Workflow
This method saves time, reduces manual errors, and keeps your financial records clean and audit-ready. By exporting directly from Gradelink and importing into QuickBooks, you streamline reconciliation and gain real-time visibility into your private school’s finances — without double entry or guesswork.